Creating an Account for Your Ecommerce Online Store
Setting up an account is very easy and enables you to be ready to sell in just a few minutes.
Setting up an account is similar to just about every other service you may have used in the past and you can start with a 14 day free trial to explore all the features that are available to you with the system.
To set up an account and create a store, please follow these steps:
- In a web browser, navigate to www.sellr.com
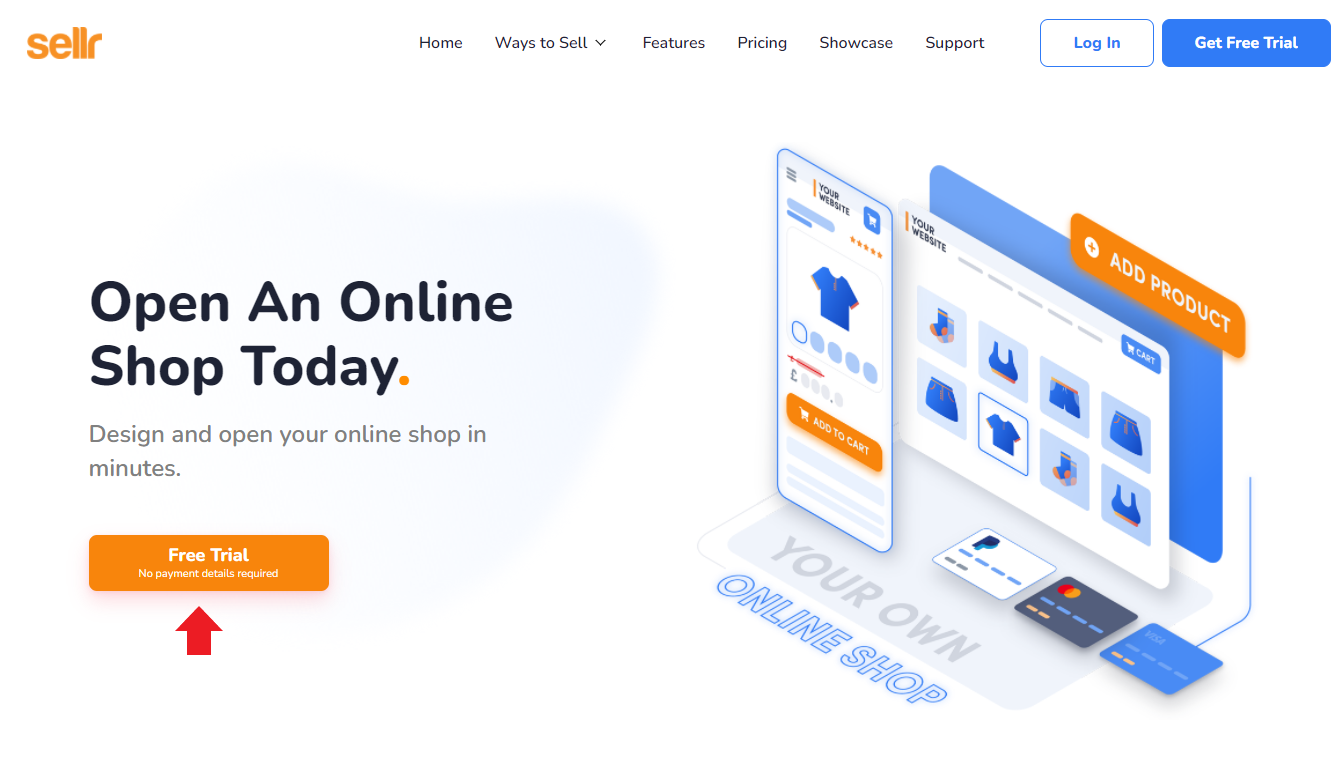
- Select the orange Free Trial button:
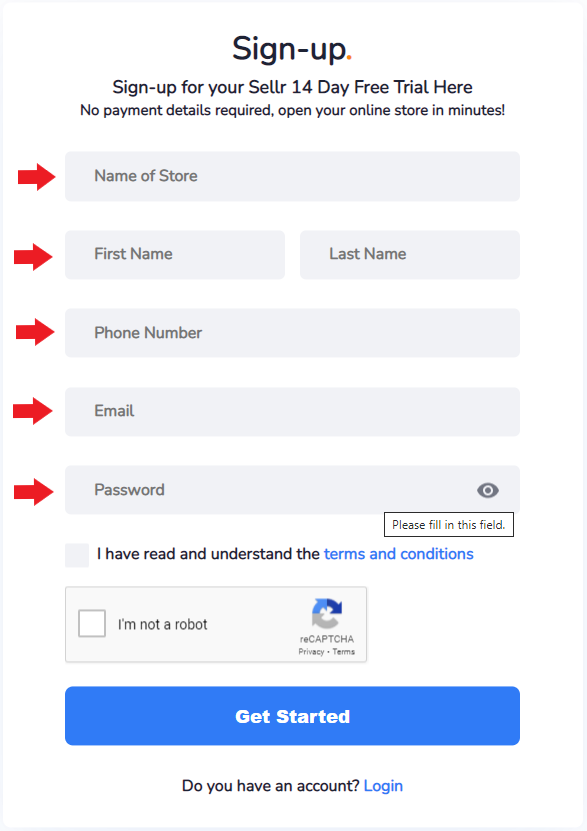
- On the next page, complete the requested information and then select Get Started at the bottom centre of the page:
-
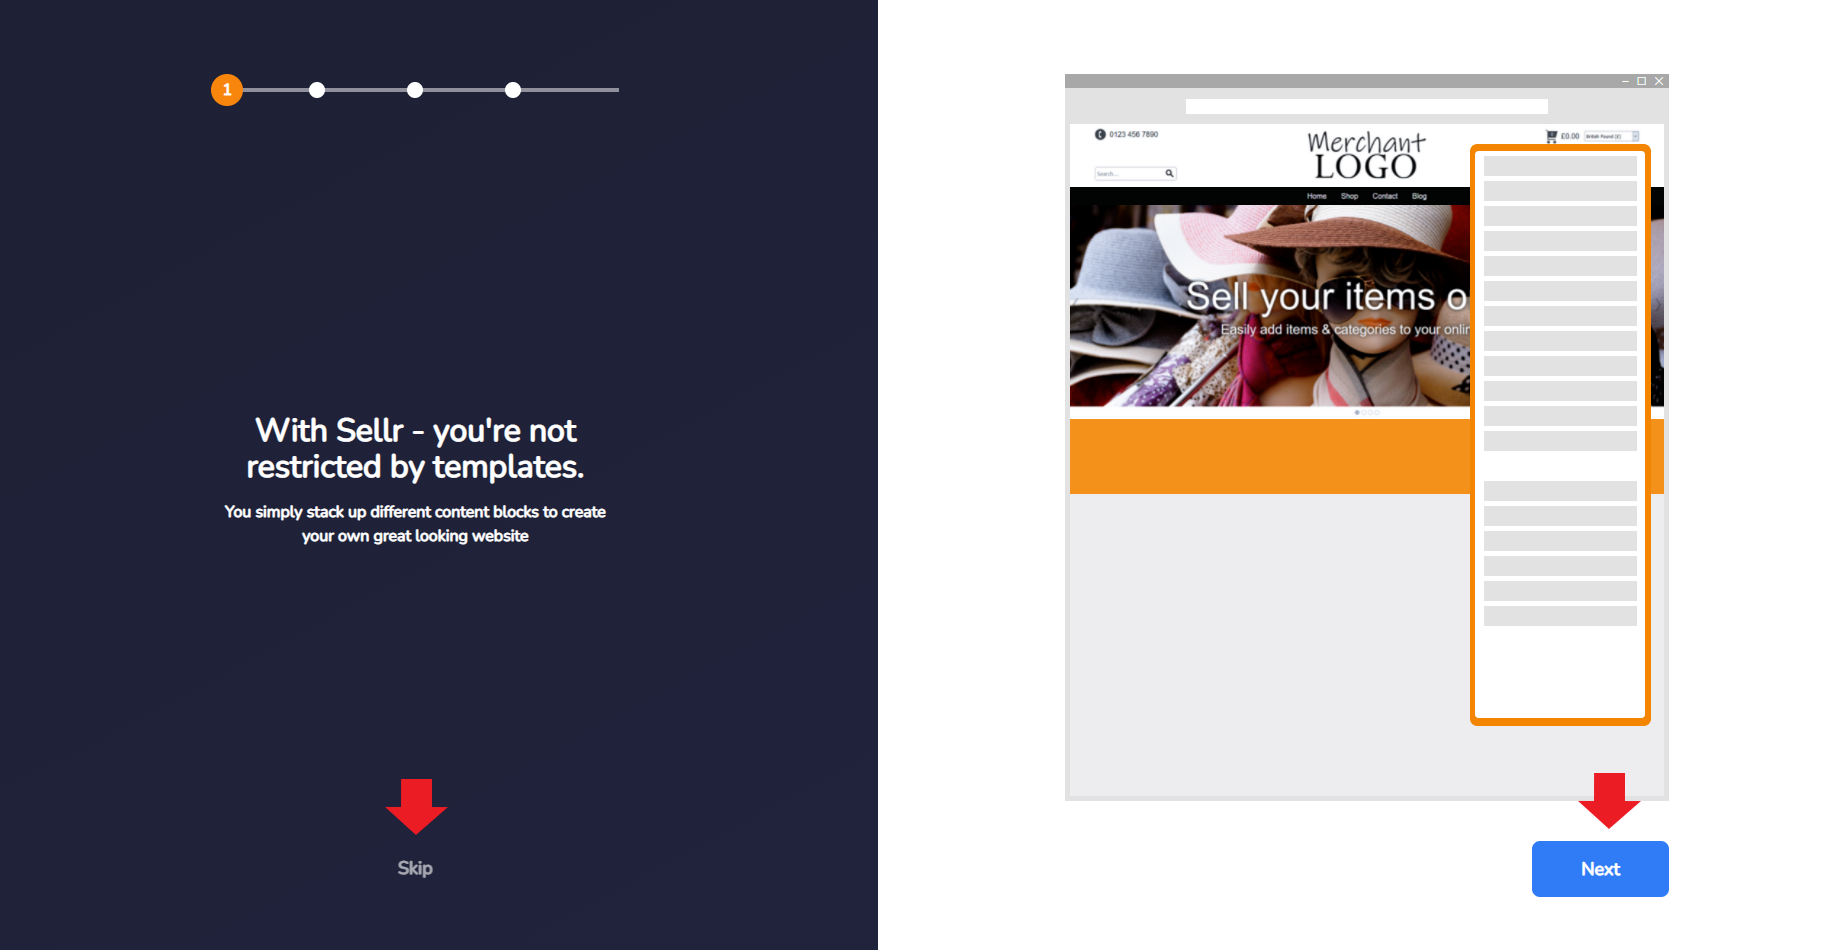
The next page will allow you to choose a template from which you can begin building your site. You can choose to ignore this by selecting the Skip option. We would recommend starting with a template as it makes things easier for yourself moving forward:
-
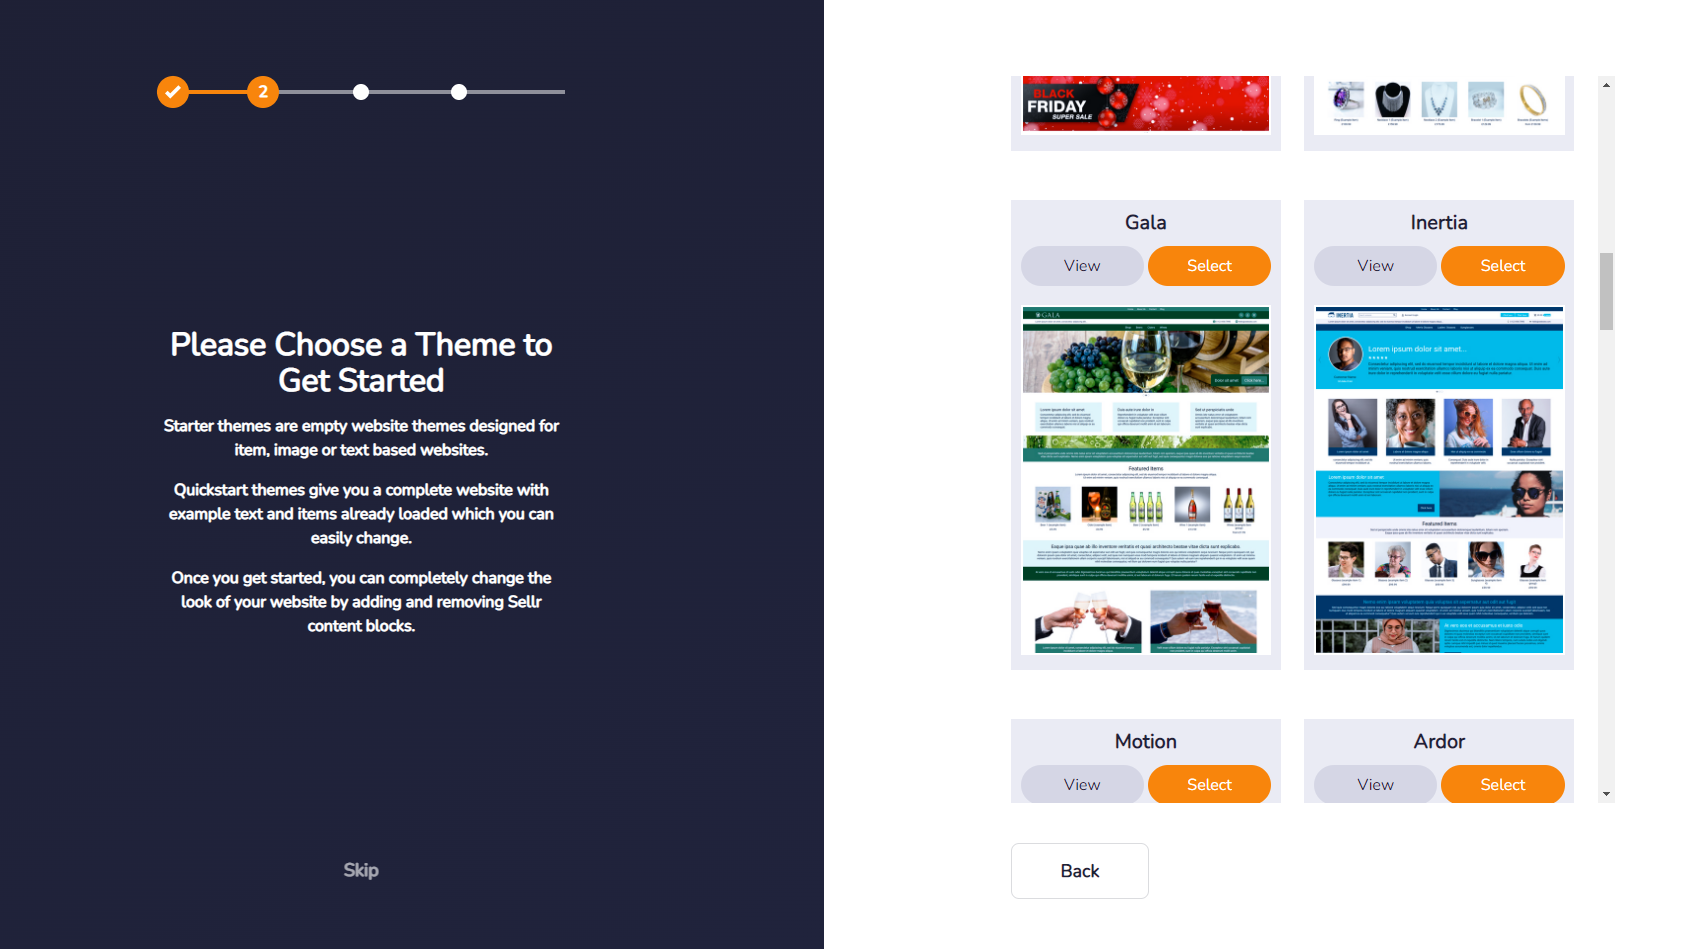
On the next screen, you will be asked to select a theme. Browse through the provided themes and choose one that grabs your attention. If you don't see anything you like, just select any. You can customise just about every aspect of the page and site to your own liking later
-
You will have noticed the "View" option. This allows you to view any of the templates in a new tab on your browser so you can get a feel for how the theme will look and feel whilst your customers browse your store. View as many as you want to find something that works for you:
-
-
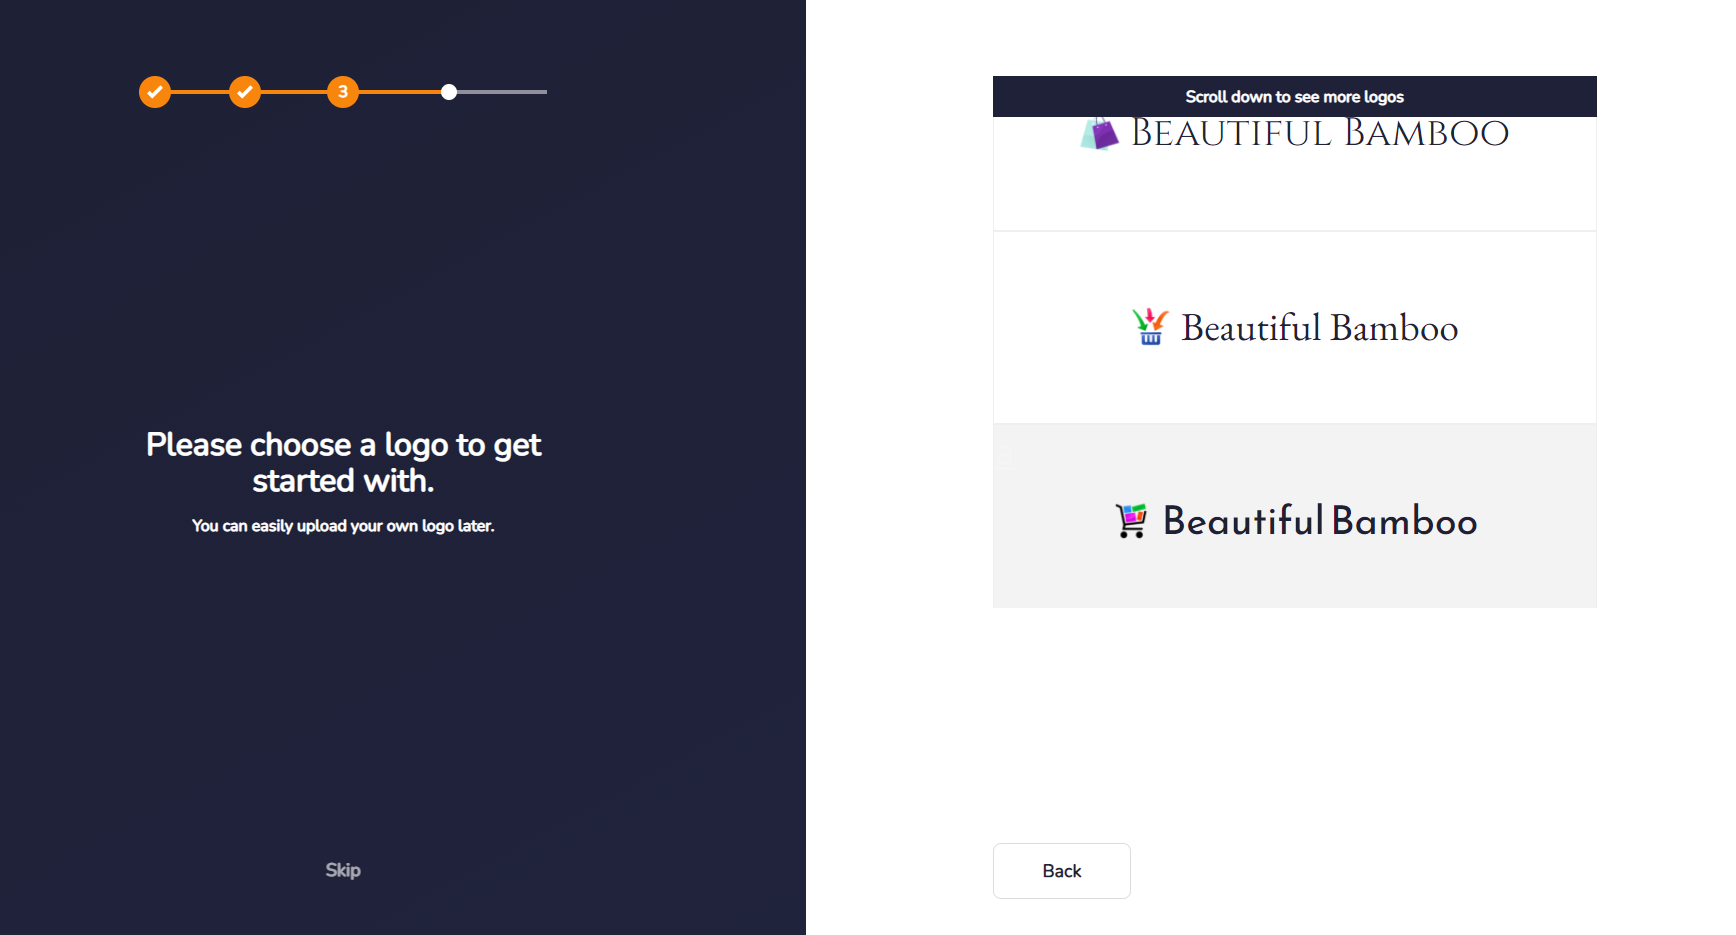
The next screen auto generates a logo that will be added to your store. If you already have a logo, select "Skip" to add your logo later or select one of the provided options. As none of the provided options relate to our store, we can select skip for now and will add our own custom logo later:
-
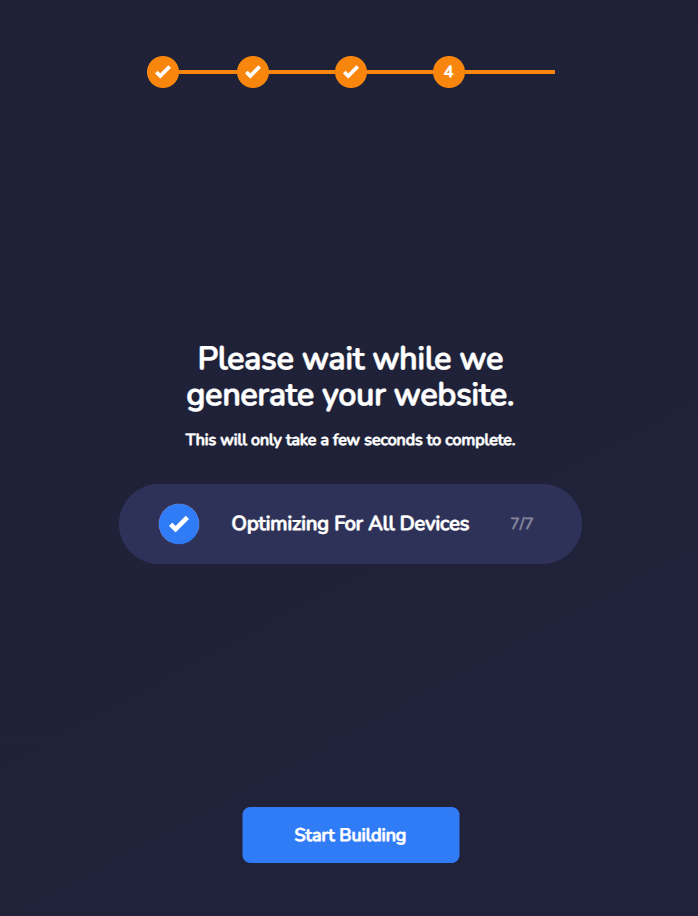
The system will then begin to build our site. You will see a screen that states it is generating the website. Wait a moment for it to complete its tasks (it will state 7/7 with a tick) and then click the blue Start Building button:
-
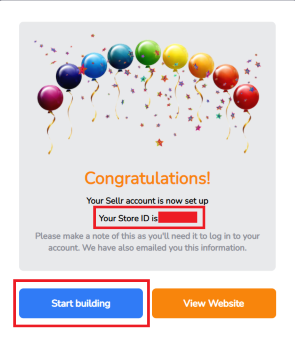
On the next page, you will see a splash screen that a congratulates you on the store now being open and live. There is an important piece of information that you should note down on this page. Your StoreID is a unique number that you will need alongside your username and password to log in to your sites control panel. The control panel is where you manage the store and is one of the most important tools you have access to. Make a note of the StoreID for later use then press the blue Start building button:
-
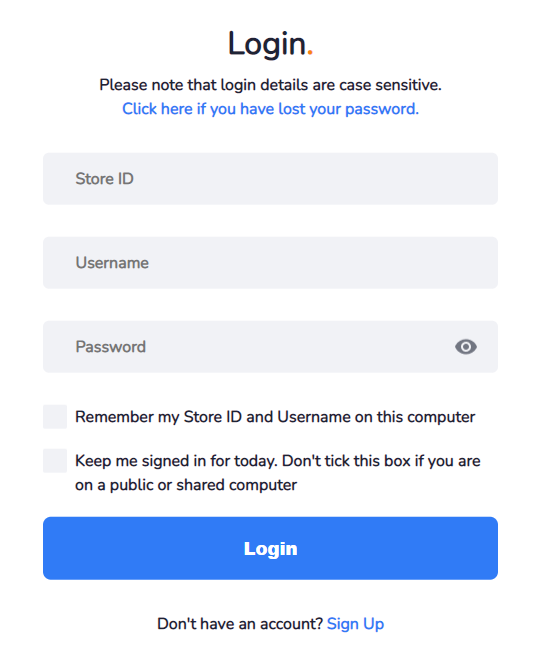
The next screen is the last before you can start customising your store fully. Simply sign in to your account with your username, password and StoreID:
-
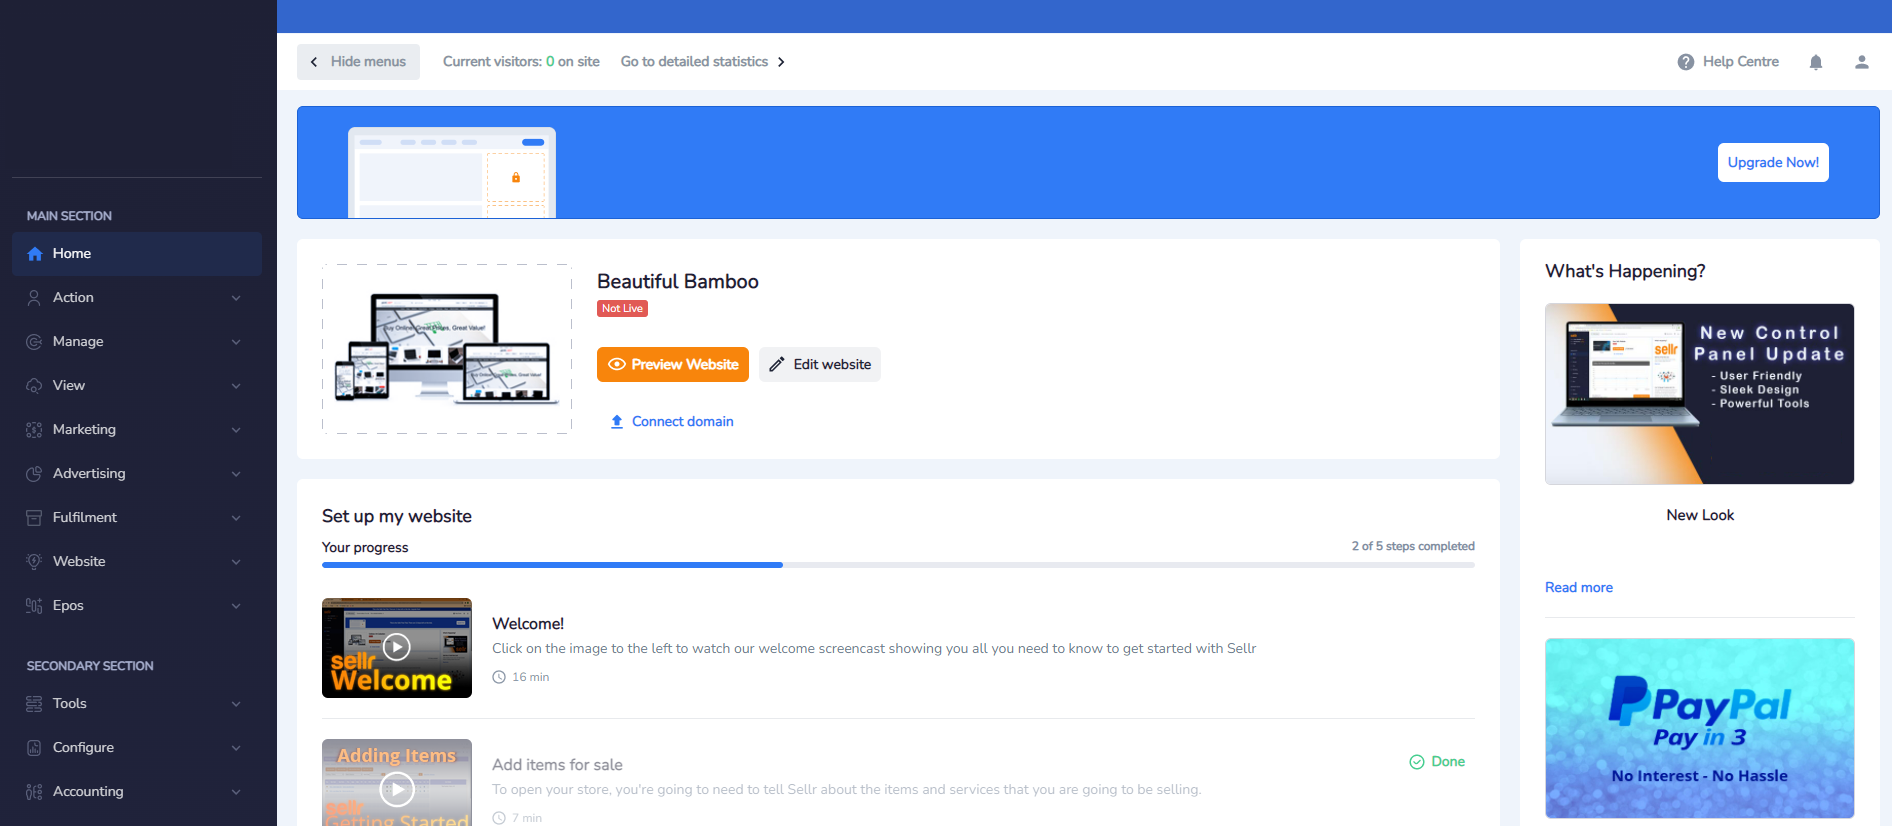
Once logged in, you will be presented with the Admin Panel. This is where you can begin to build all the different parts of your store as well as begin customising the website itself:
-
Your store is now ready for the next steps. The most important one is to set up some payment methods so that you can start selling and connect your domain (if you have one) to heighten visibility of your brand and store. These topics are explored further in the following sections


