


Intro to Sellr
Setting Up Your Ecommerce Store
Editing Your Ecommerce Store
The "Action" Section
The "Manage" Section
The "View" Section
The "Marketing" Section
CRM (Customer Relationship Manager) - Overview
Contacts - Contact Lists
Contacts - Import Lists
Contacts - Export List
Email Marketing - Schedule Emails
Email Marketing - On Page Sign Up
Email Marketing - Popup Email Signup
Email Marketing - Follow Up Emails
Autoresponders - Prospect Sequences
Autoresponders - Customer Sequences
Autoresponders - Item Sequences
Autoresponders - Welcome Back Sequence
TPS Screening
Add a Contact
Customer Accounts
GDPR
Social Media - Connecting Accounts
Social Media - Follow Icons
Promotions and Offers - Coupons
Promotions and Offers - Promotional Codes
Promotions and Offers - Offers
Promotions and Offers - Discounts
Promotions and Offers - Bundles
Promotions and Offers - Gift Cards
Cross-Sell and Up-Sell
External Scripts
Amazon Associates
The "Advertising" Section
The "Fulfilment" Section
The "Website" Section
The "Configure" Section
Migrating to Sellr
Selling in Person
Selling Online
Discounts and Promotions
Invoicing and Quotes
Items for Sale
Website Themes
Payments
Domains
Shipping
Managing Orders
Contact Management
Tax Settings
Email Marketing
Telesales
Selling On Marketplaces
Selling On Social Media
Connecting to Other Systems
How to Increase Your Sales
Autoresponders - Item Sequences
Item Email Sequences are triggered when a customer buys an item. You can select a range of items to trigger the sequence, or an item category or super category. The sequence will run until all the emails in the sequence have been delivered to the customer
To set up an item sequence autoresponder, follow these steps:
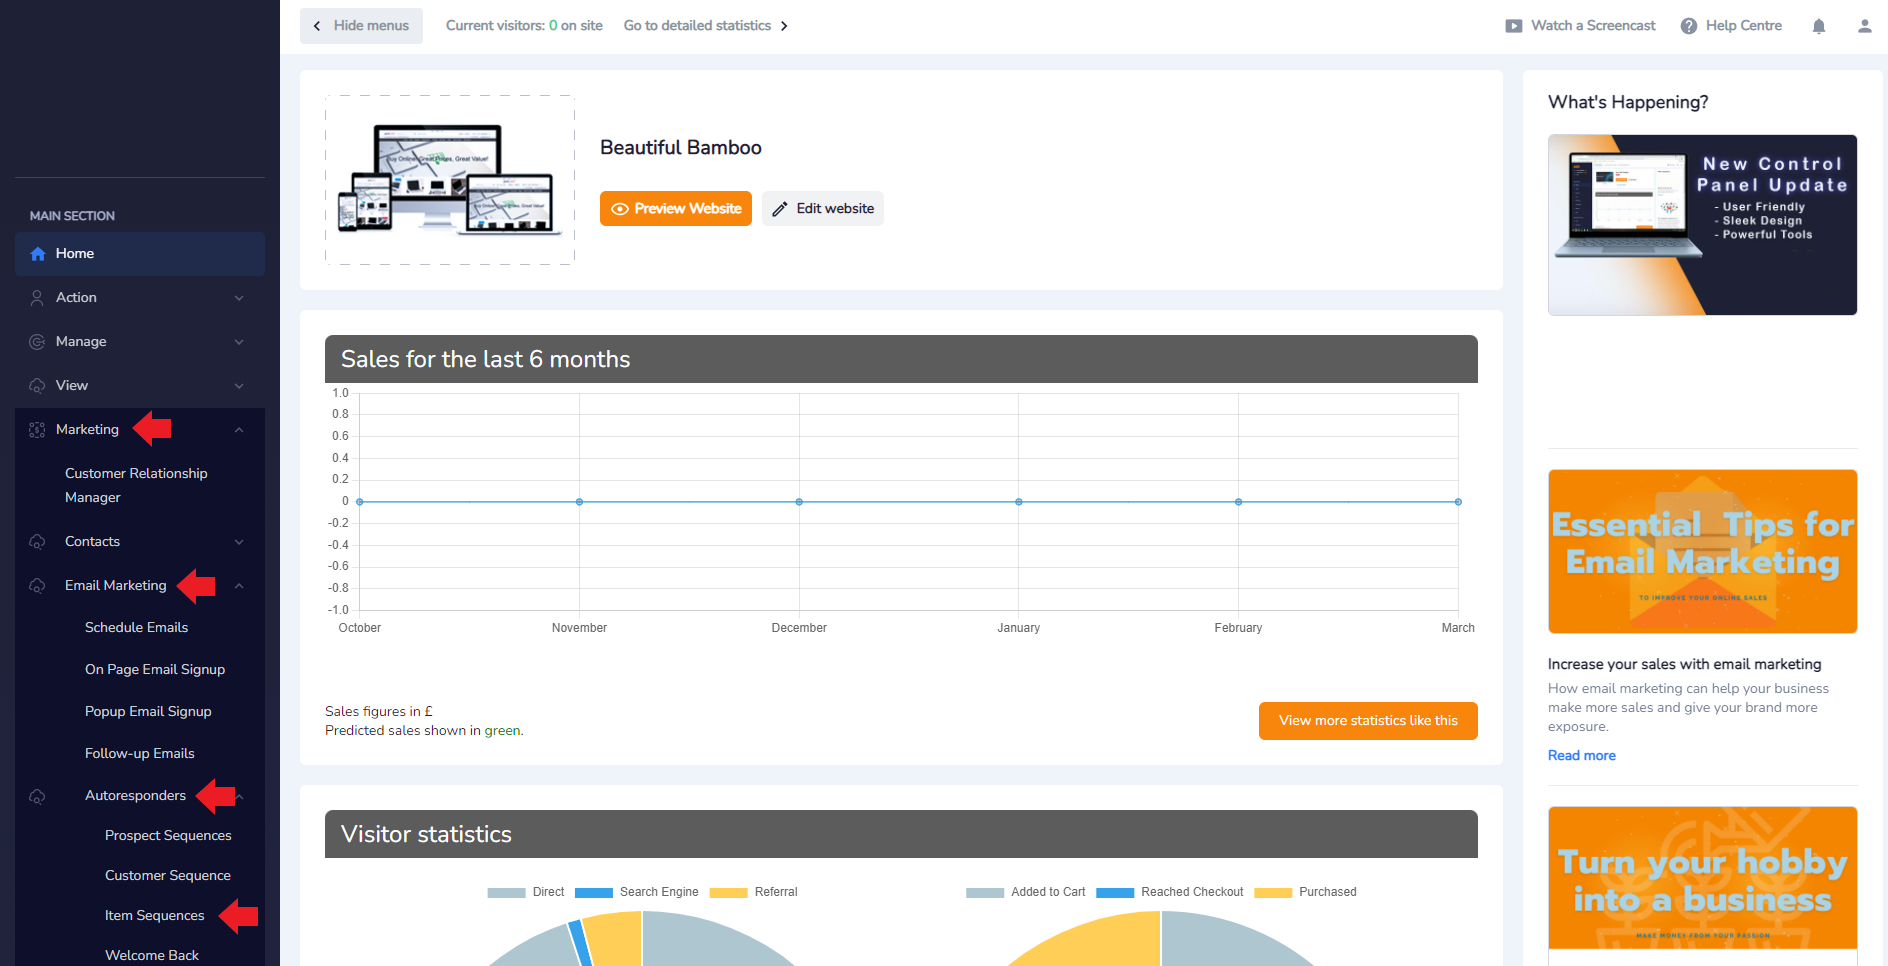
- From the Admin Panel, select Marketing > Email Marketing > Autoresponders > Item Sequence:
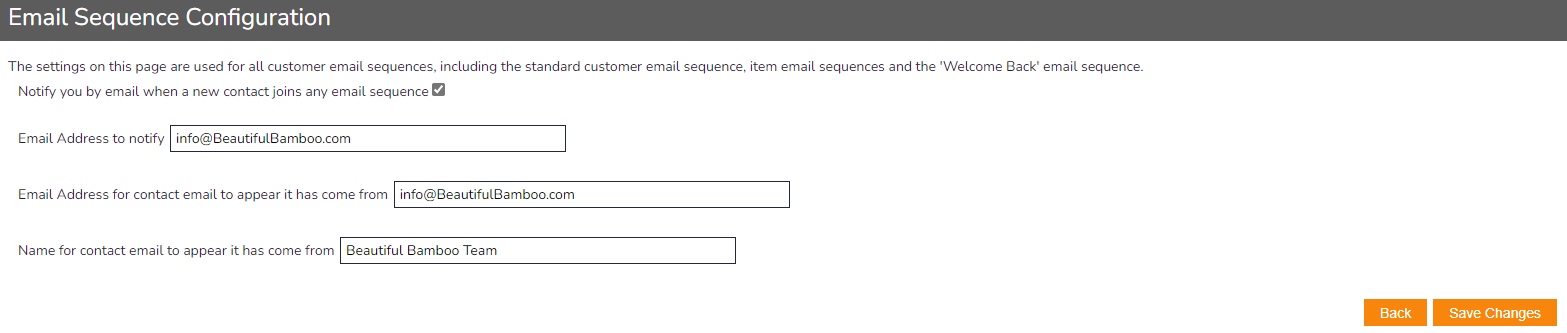
- Select Configure:

- Complete the available fields with the relevant information, press the orange Save Changes button. The system will update, then press the orange Back button:
- Select Create New Sequence:

- Provide a Sequence Name and Sequence Description. Once complete, pres the orange Add New Sequence button:

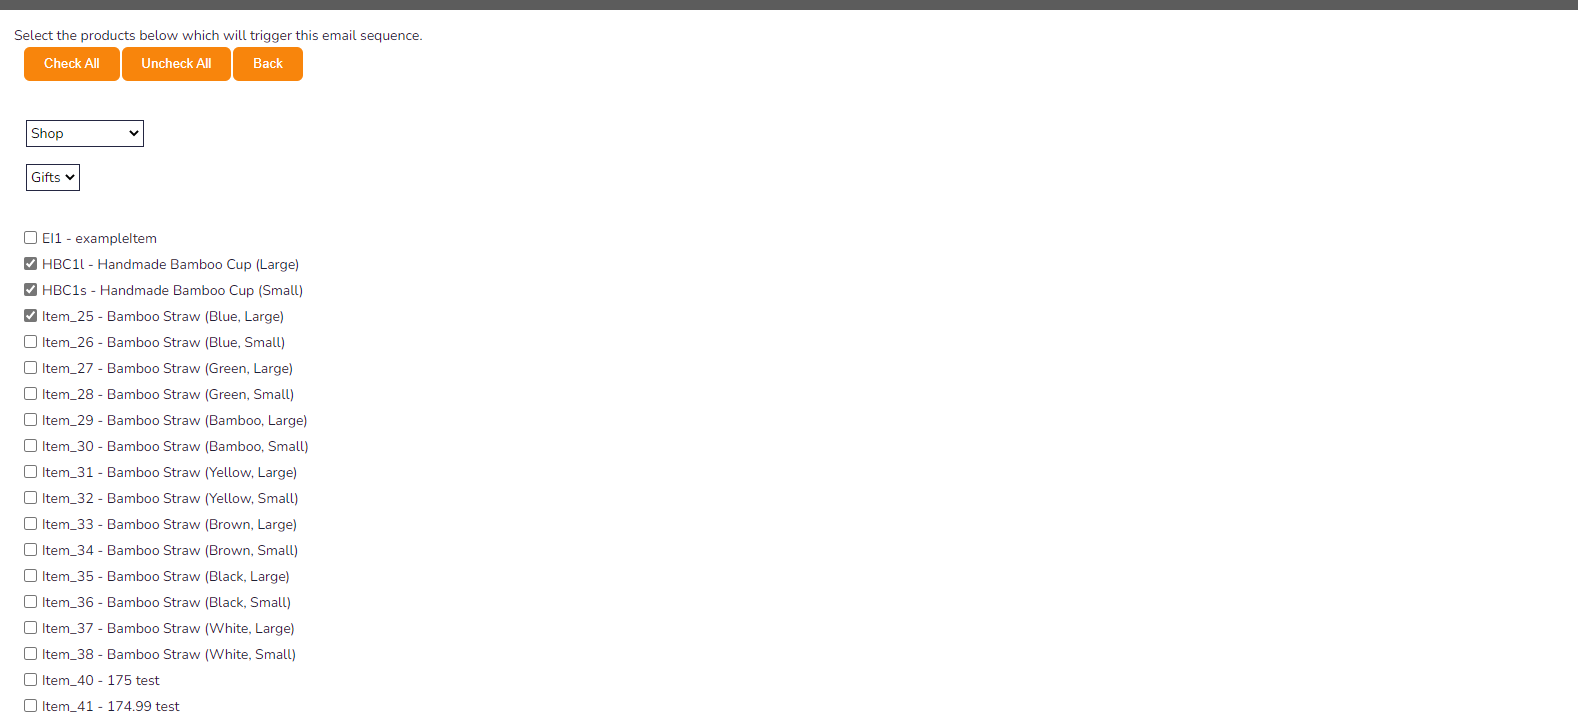
- Select Item Triggers under the Items column:

- Select the items that you would like this sequence to be triggered by. When a customer purchases any of the selected items, it will trigger the sequence of emails to be sent out to that particular customer. Press the orange Back button was you ahve selected all the required items:
- You will be returned to the previous page. Select the Pencil icon under the Edit column:

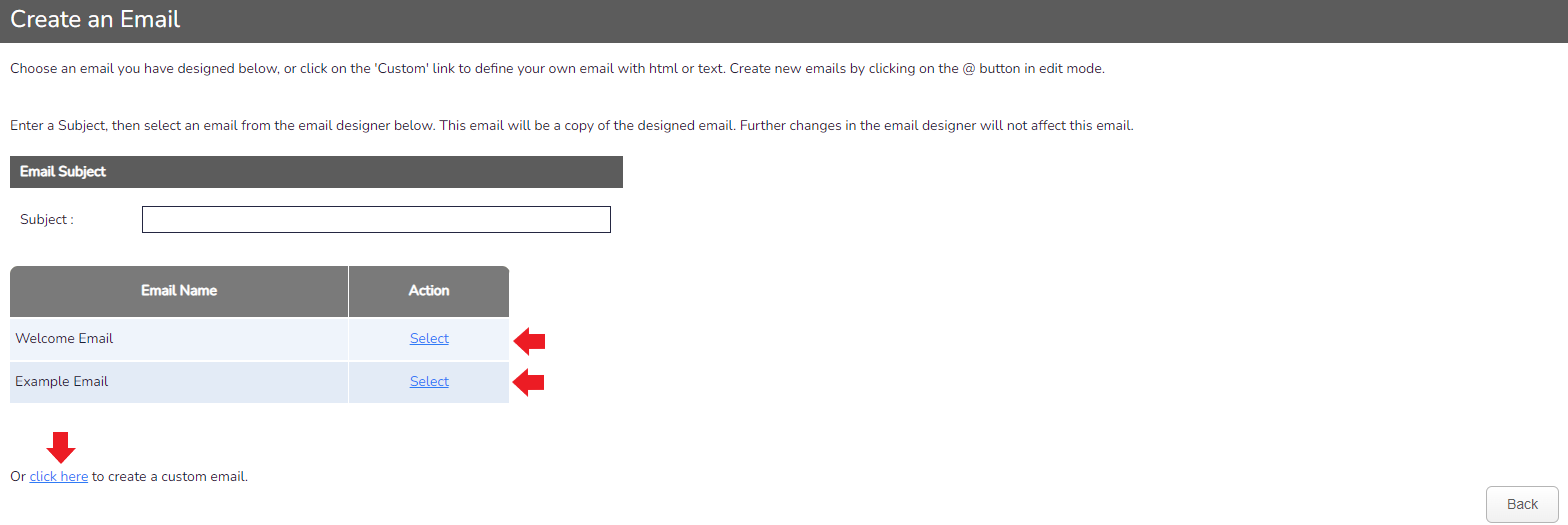
- Select Add Email to Sequence:

- Create a new email or select a template for this first email in the sequence If you choose a template, you can still edit it later:
- You can choose Add Email to Sequence to add another email to this sequence of emails. You can edit the specific email by using the Pencil icon and view how it looks by selecting the Magnifying Glass icon:

- In this image, I added another email to the sequence and then set the delay on sending it to 1 day after the previous email. This Flash Sale Email will be sent to the Prospective Customers 1 day after the first email:

- When you are happy with the sequence and have added all the email to it that you would like to be sent, select Save Changes in the bottom right. The emails will be automatically sent once a customer purchases the specific items that were selected earlier


