


Intro to Sellr
Setting Up Your Ecommerce Store
Editing Your Ecommerce Store
The "Action" Section
The "Manage" Section
The "View" Section
The "Marketing" Section
CRM (Customer Relationship Manager) - Overview
Contacts - Contact Lists
Contacts - Import Lists
Contacts - Export List
Email Marketing - Schedule Emails
Email Marketing - On Page Sign Up
Email Marketing - Popup Email Signup
Email Marketing - Follow Up Emails
Autoresponders - Prospect Sequences
Autoresponders - Customer Sequences
Autoresponders - Item Sequences
Autoresponders - Welcome Back Sequence
TPS Screening
Add a Contact
Customer Accounts
GDPR
Social Media - Connecting Accounts
Social Media - Follow Icons
Promotions and Offers - Coupons
Promotions and Offers - Promotional Codes
Promotions and Offers - Offers
Promotions and Offers - Discounts
Promotions and Offers - Bundles
Promotions and Offers - Gift Cards
Cross-Sell and Up-Sell
External Scripts
Amazon Associates
The "Advertising" Section
The "Fulfilment" Section
The "Website" Section
The "Configure" Section
Migrating to Sellr
Selling in Person
Selling Online
Discounts and Promotions
Invoicing and Quotes
Items for Sale
Website Themes
Payments
Domains
Shipping
Managing Orders
Contact Management
Tax Settings
Email Marketing
Telesales
Selling On Marketplaces
Selling On Social Media
Connecting to Other Systems
How to Increase Your Sales
Autoresponders - Welcome Back Sequence
The Welcome Back responder is triggered when a customer re-visits your website after not having visited for a while. You can configure the length of time the customer has to be absent to trigger the email. This can be very effective as it gives the customer the impression that you care about them and appreciate that they have returned to visit your store
To set up a welcome back sequence, follow these steps:
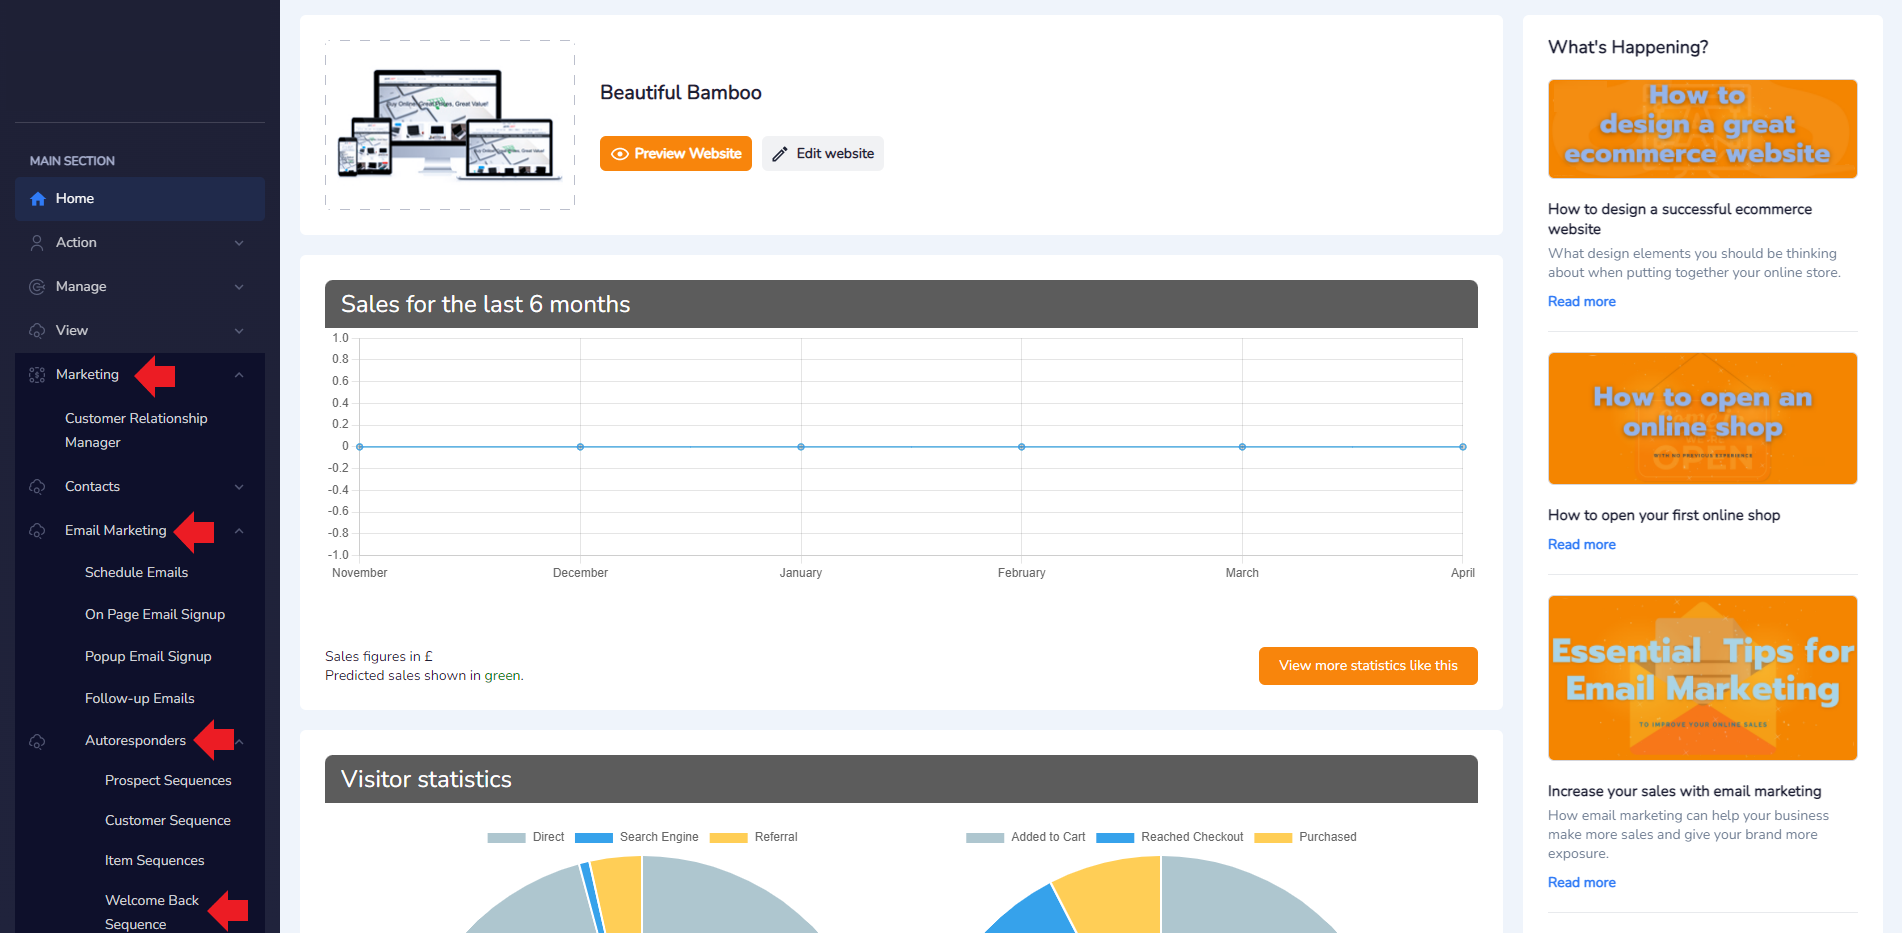
- From the Admin Panel, select Marketing > Email Marketing > Autoresponders > Welcome Back Sequence:
- The next page will show the Welcome Back Manager. First, select Configure and ensure that the settings are correct:

- Ensure the options available are set to reflect your needs and then make sure to Save Changes:

- When you are happy with the options, press the orange Back button to return to the Welcome Back Manager
- Next, make sure to turn the autoresponder on by pressing the switch so that is shows Green:

- Now it is turned on, we need to create the sequence. Select Create New Sequence:

- On the next page, provide a name and description in the relevant fields and then press the ornage Add New Sequence button:

- The new sequence is added oto the hierarchy. Select the Pencil icon underneath the edit column:

- Select Add Email to Sequence to add an email to this sequence:

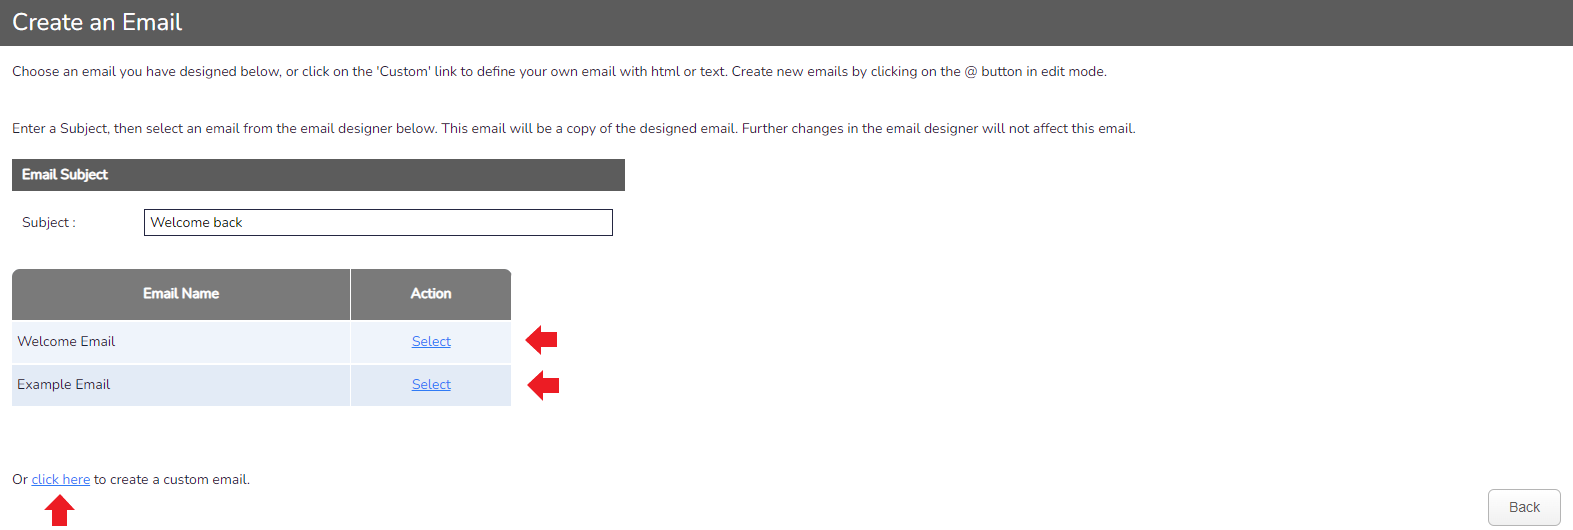
- Select a premade email template or press Click Here to create a completely new email. For now, I will create a new email:
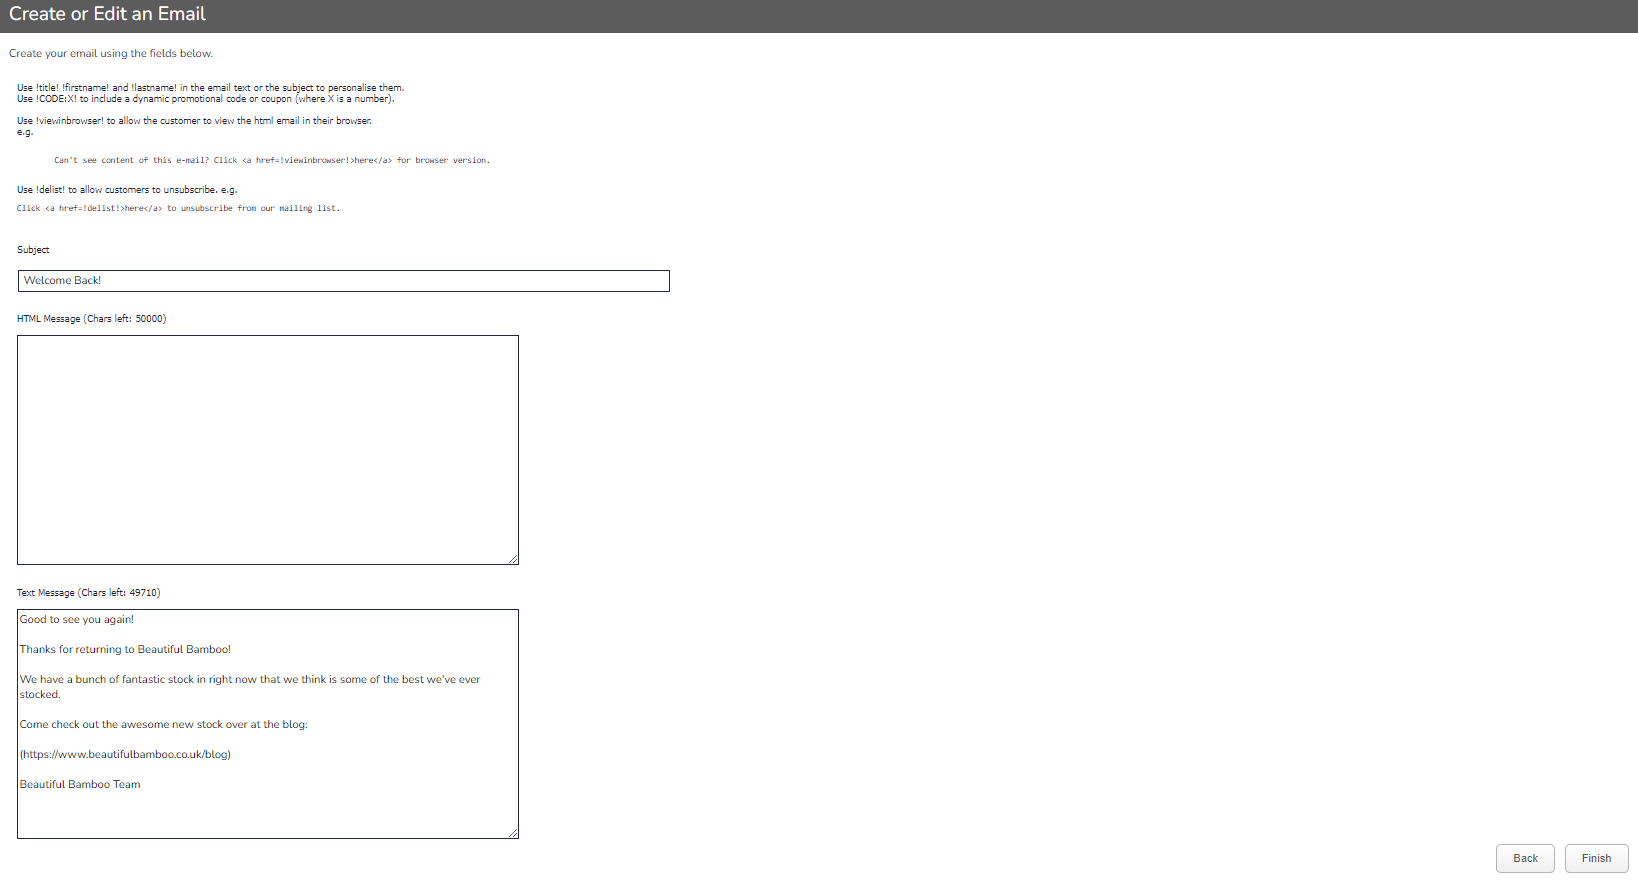
- Add a Subject and then complete the email however you want using either plain text or HTML. Press the grey Finish button when you are ready:
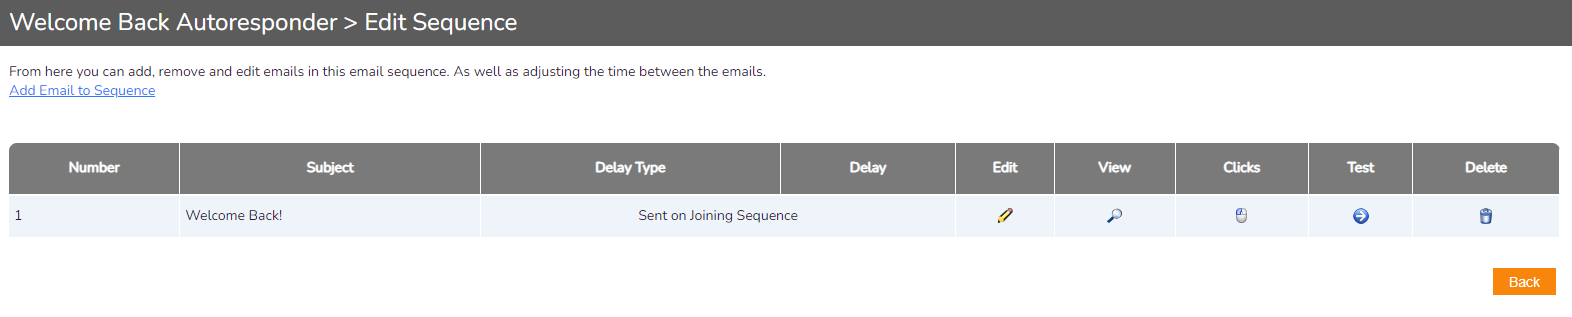
- The email is added to the sequence ready to be sent:
- You can repeat the above steps at this point if you would like to add more emails to the sequence. Simply press the Add Email to Sequence button in the top left
- When you have added all the emails you require in this sequence, press the orange Back button to return to the Welcome Back Manager
- On the Welcome Back Manager, select Set Absence Trigger:

- Select the amount of time that you feel works best for you and then select the orange Save Changes button in the bottom right when ready:

- The sequence is now ready and fully configured. Your customers will receive an automatic email that welcomes them back to the store based on the settings you configured


